Ah, Tanah Lot Temple — one of Bali’s most iconic landmarks and a photographer’s paradise! With its stunning sea views and vibrant sunsets, it’s no wonder this temple attracts so many visitors. Having spent an unforgettable day there, I’m excited to share my experience and insights on how to photograph the Tanah Lot Temple like a pro.
The Allure of Tanah Lot
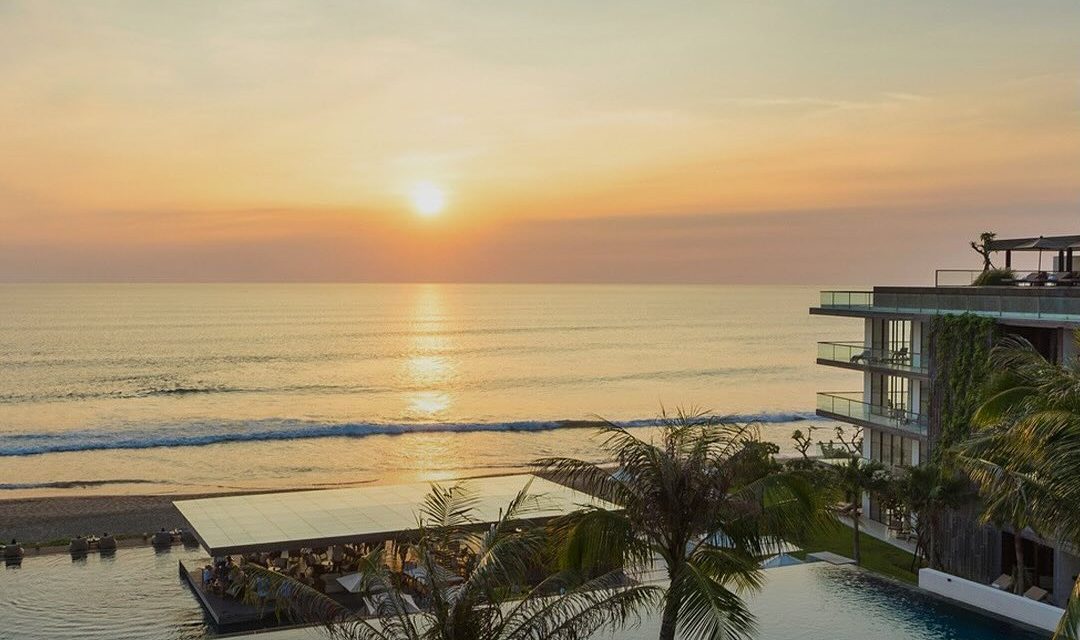
Picture this: It’s late afternoon, the sun dips low in the sky, and the air is filled with the salty scent of the ocean. As I approached the temple, I was captivated by its silhouette against the vibrant hues of the sunset. The waves crash against the rocks, creating a dramatic backdrop that just begs to be captured.
Timing is Everything
First things first, timing your visit can make or break your photographs. The golden hour just before sunset is when the light dances beautifully, illuminating the temple and surrounding scenery. Trust me, I’ve experienced it firsthand. I arrived around 5 PM, and the soft, warm light transformed everything into a magical scene.
Pro tip: Arrive early to scout the best angles and secure a good spot. The crowds will build as sunset approaches!
Gear Up for the Adventure
Before heading out, I made sure I had the right gear. Here’s a checklist of essentials:
– Camera: Whether it’s a DSLR, mirrorless, or even a smartphone, choose something you’re comfortable with.
– Tripod: A must-have if you want those long exposure shots, especially during twilight.
– Wide-angle lens: This will help you capture the vastness of the scene.
– Filters: A polarizing filter can enhance colors and reduce glare, making those sunset shots pop!
When I was there, I noticed that many photographers were lugging around heavy tripods. However, a lightweight, portable option worked wonders for me, especially since I had to navigate rocky paths.
Finding Your Perspective
One of the most memorable parts of my photography journey at Tanah Lot was experimenting with different angles. Here’s what I found super helpful:
– Capture the temple from various distances: Close-ups of the waves crashing into the rocks create a sense of intimacy, while wider shots give context to the temple’s majestic presence.
– Incorporate foreground elements: I had fun including interesting rock formations or seaweed in the foreground of my shots. It adds depth and draws the viewer into the scene.
– Play with reflections: The tidal pools nearby create striking reflections of the temple during low tide, offering another chance to compose a captivating shot.
The People Factor
While the temple is the star of the show, the locals and tourists around can add an extra layer of interest. I vividly remember capturing a family taking pictures while laughing beside the waves. Their joy perfectly encapsulated the spirit of Bali. Don’t be afraid to shoot candid moments or to photograph locals, but remember to ask for permission. Many Balinese are friendly and appreciate your interest!
Editing Your Masterpiece
After the exciting day of shooting, it was time for some editing magic! I personally love using Lightroom to tweak my images. Here are some quick tips:
– Adjust the exposure: Sometimes the brightness can be off, especially with direct sunlight.
– Enhance the colors: Saturate those golden and blue hues to make your sunset photos even more vibrant.
– Crop strategically: Focus on the parts of the photo that tell the most compelling story.
Conclusion: More Than Just a Photographic Opportunity
Photographing Tanah Lot Temple isn’t just about snapping pictures; it’s about immersing yourself in the experience. With every click of the shutter, I was reminded of the beauty and spirituality of this sacred site. So, next time you’re in Bali, take the time to explore and photograph Tanah Lot. Embrace the magic of the moment, experiment with your photography, and most importantly, enjoy every second you spend there! Trust me, your camera (and your heart) will thank you.Feel free to share your own experiences or questions below; I’d love to hear your stories of this incredible temple! Happy shooting!


