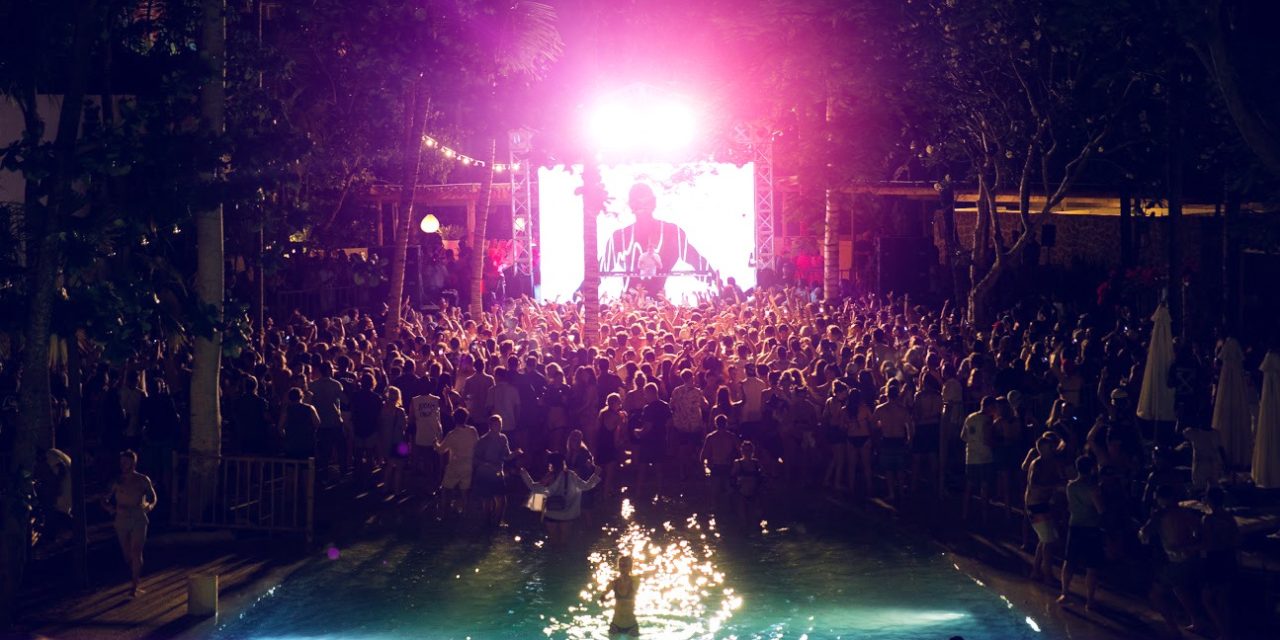
Hey there, fellow photography enthusiasts! If you’re as passionate about capturing stunning landscapes as I am, you’ve probably heard of Tanah Lot in Bali. This iconic sea temple, perched on a rock formation amidst waves crashing against the shore, offers breathtaking views that are simply begging to be photographed. But if you’ve recently taken to the skies with a drone, you might be wondering: how can I make my photos truly shine? Let’s chat about some common mistakes in Tanah Lot drone photography that I’ve encountered—and share a couple of personal anecdotes along the way!
1. Ignoring the Golden Hour
Picture this: it’s late afternoon, and I’m standing on the lush cliffs overlooking Tanah Lot. The sun starts dipping towards the horizon, creating a golden hue that makes everything look magical. But wait! Instead of setting up my drone for aerial shots, I decided to take just one more photo from ground level. By the time I got my drone in the air, the soft light of the golden hour had vanished, leaving me with flat, lifeless images.
Tip: Always plan to fly your drone during the golden hour—one hour after sunrise or one hour before sunset. Those warm, soft lights enhance the textures of the temple and the waves breaking against the rocks, resulting in mesmerizing photographs.
2. Not Checking Local Regulations
Let me tell you, regulations regarding drone flying can change quicker than you can say “Tanah Lot.” The first time I ventured out with my drone, I was thrilled to capture that iconic shot of the temple. Feeling giddy, I launched my drone without checking any guidelines. Suddenly, I saw a local guide waving at me frantically. Turns out, I was flying in restricted airspace!
Practical Advice: Always check local drone regulations before you fly. In Bali, drones are generally not allowed in certain areas, especially tourist hotspots. Be respectful of the rules and the local community. Check the local government guidelines or consult with local drone operators to avoid a big headache.
3. Not Using ND Filters
During one of my trips to Tanah Lot, I was excited to shoot some long-exposure shots of the crashing waves under the temple. I didn’t think much of it; I just launched my drone and started shooting. The result? Blurry, overexposed photos. It was a total disaster!
Insight: Neutral Density (ND) filters can work wonders in controlling light, especially in bright conditions. These filters reduce the amount of light entering the lens, allowing for longer exposure times without washing out your images.
Recommendation: Invest in a good set of ND filters for your drone. You’ll be able to capture the magic of smooth waves and dramatic skies—even on a sunny day.
4. Failing to Consider Composition
On another visit, I was so enamored by the scenery that I quickly snapped a few shots without thinking about composition. The result? Beautiful images with the iconic temple smack dab in the center, making them feel flat and uninteresting.
Tip: Think about composition techniques like the Rule of Thirds or leading lines. Rather than placing the temple centrally, try positioning it off-center and let the waves lead the viewer’s eye to it. Don’t be afraid to experiment with angles—sometimes a shot from above can capture the landscape better than a traditional frontal approach.
5. Forgetting About Battery Life and Safety
One of my most stressful drone experiences came as I was about to capture the sun setting behind the temple. My drone was up in the air, the colors were unreal, and I was definitely feeling like a photography rockstar… until my low-battery warning started flashing!
Advice: Always monitor your drone’s battery life and plan your flights accordingly. Pre-flight checks to verify battery status aren’t just recommended, they’re essential! Make sure you have a backup battery if you’re planning a lengthy shoot. Also, ensure you’re flying at a safe distance from people and the temple, and avoid getting too close to the cliffs.
6. Overlooking Post-Processing
After all my hard work flying the drone and capturing images, I got back home to edit the photos—and was sorely disappointed. I’d neglected to use post-processing software. Photos that were quite good in the air looked dull on my computer screen.
Tip: Don’t skip the editing process. Simple adjustments like contrast, saturation, and sharpening can dramatically enhance your drone images. Software like Lightroom or Photoshop can take your photos from dull to stunning with just a few tweaks.
Wrapping Up
There you have it—my personal insights on common mistakes in Tanah Lot drone photography. The beauty of drone photography lies in its ability to provide unique perspectives. So, learn from my experiences, avoid these pitfalls, and elevate your photography game! Remember, each flight is a chance to grow. Whether you’re an amateur enthusiast or a seasoned pro, Tanah Lot is a dazzling location that promises to inspire great shots if you approach it with the right tools and mindset. Get out there, shoot some amazing photos, and let your creativity take flight! Happy flying!


